Intro tutorial for SIMple Gravity
Follow along with this tutorial using the web app.
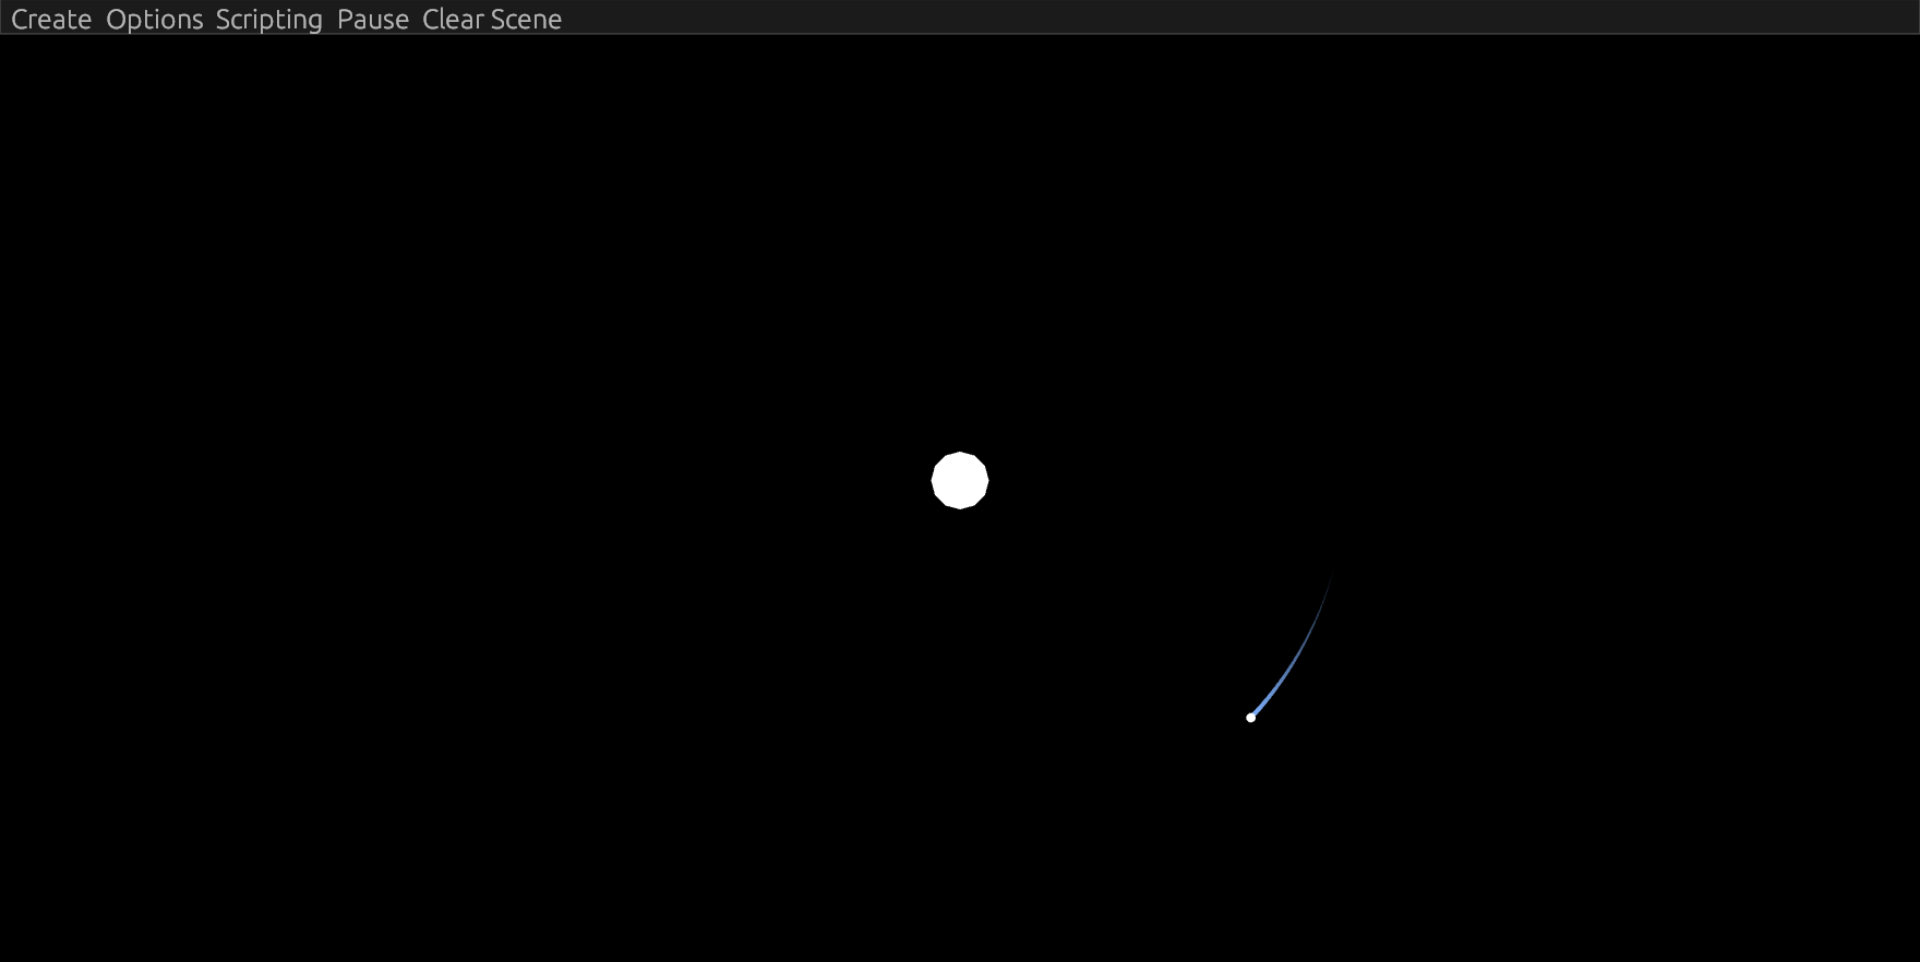
Camera Controls
You can pan and zoom the camera using the middle mouse button. To pan, hold the middle mouse button or left alt and move your mouse. To zoom around your mouse cursor, use your mouse scroll.
Inspect
Click a body to inspect it. Using the side panel, you can edit the body's radius, mass, and trail length. You can also view its position, velocity, and acceleration.
To make it easier to click a body, try pausing the simulation with the space key or using the button on the top panel.
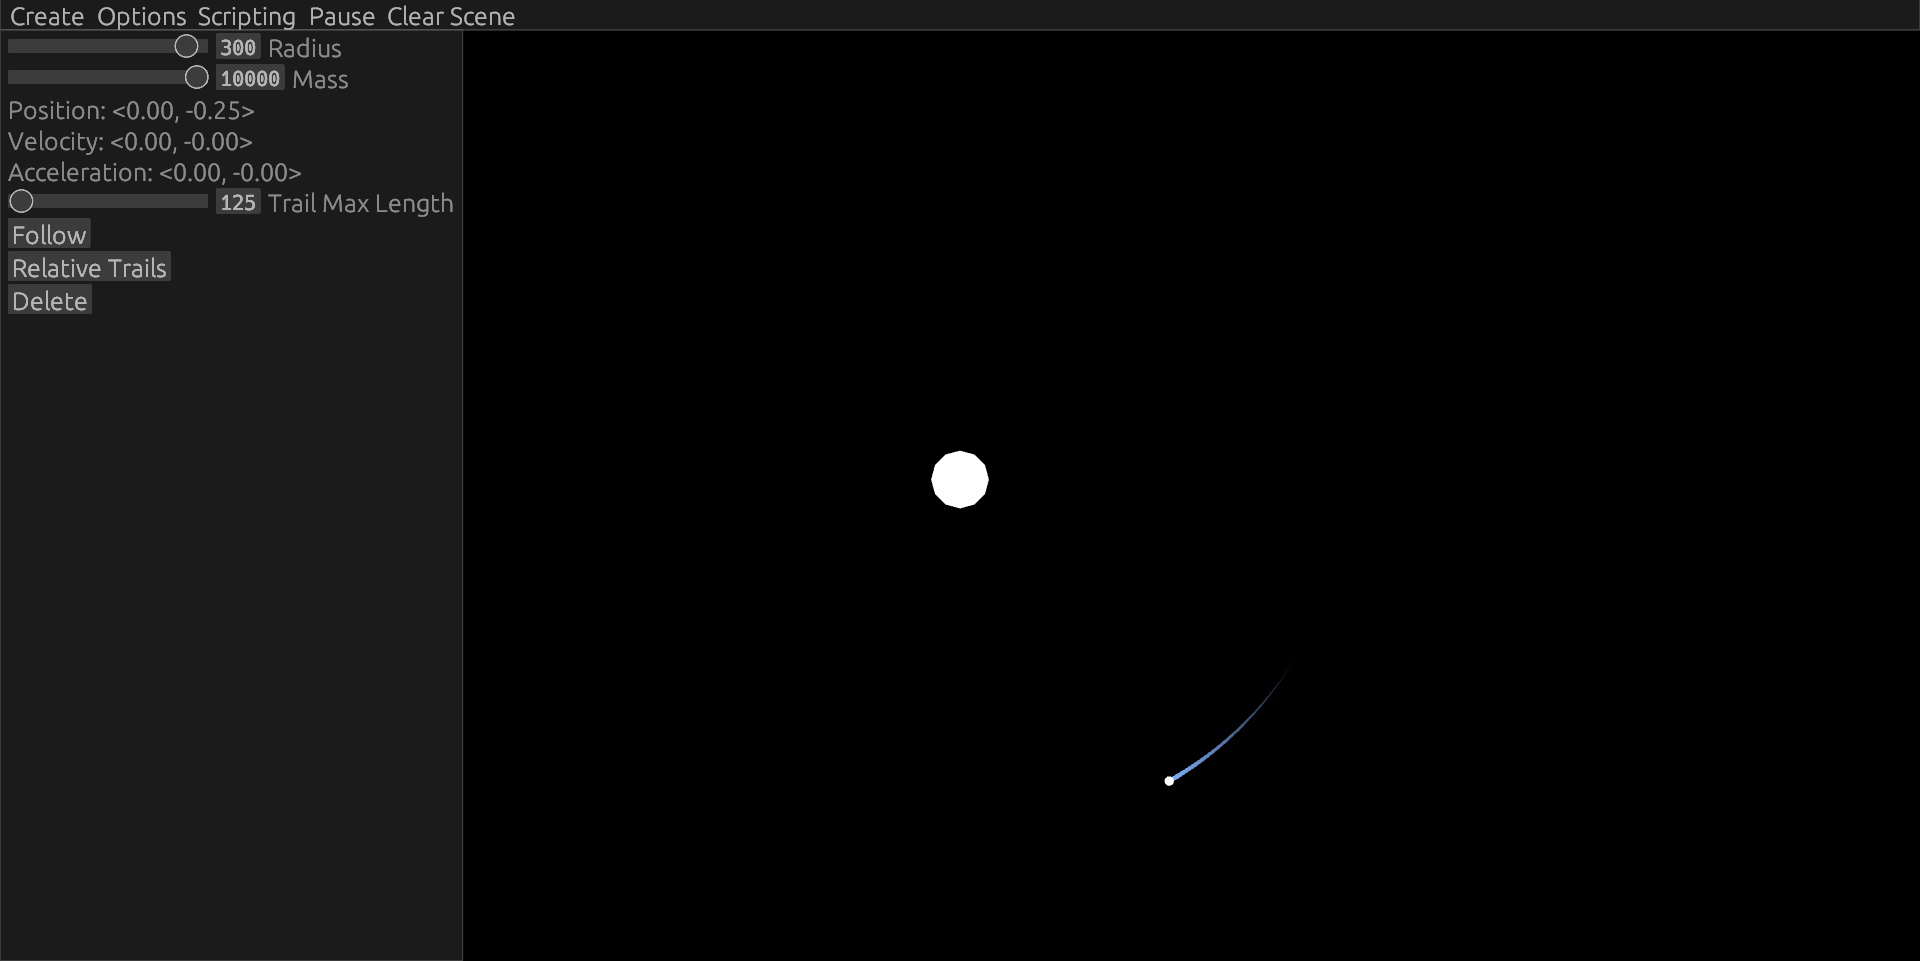
To remove the side panel, click in empty space or press Escape.
Follow & Relative Trails
Using the inspect menu, you can follow the body and make the trails relative to the inspected body:
Creating Bodies
To create bodies, use the "Create" option in the top panel:
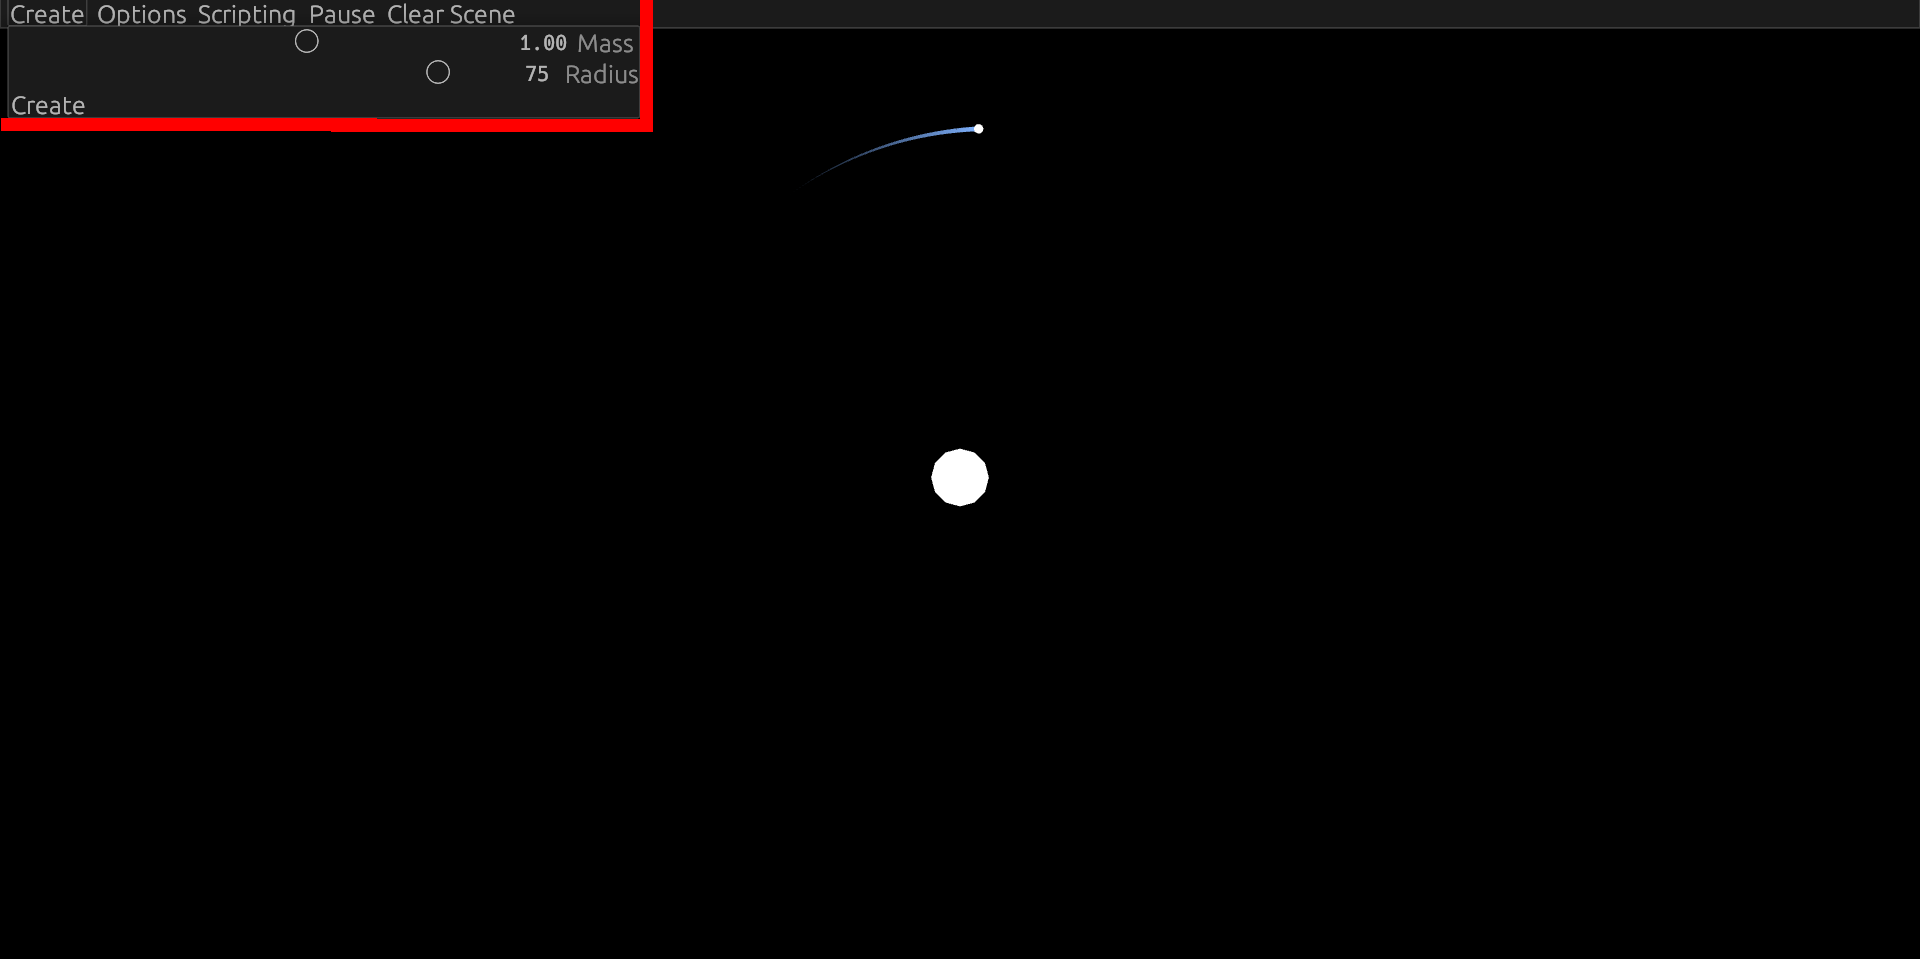
On this menu, adjust the mass and radius of the body, and then click the "Create" button at the bottom to enable creation mode. Once in creation mode, you can place a body by clicking and dragging to set its velocity. Release your mouse button to launch the body.
Reset
If the engine ever crashes or you've moved your camera away from anything interesting, reload the page to reset the engine. However, this will reset your script and everything else, so make sure to save it first.
Scripting
Click the scripting button on the top panel to open the code editor.
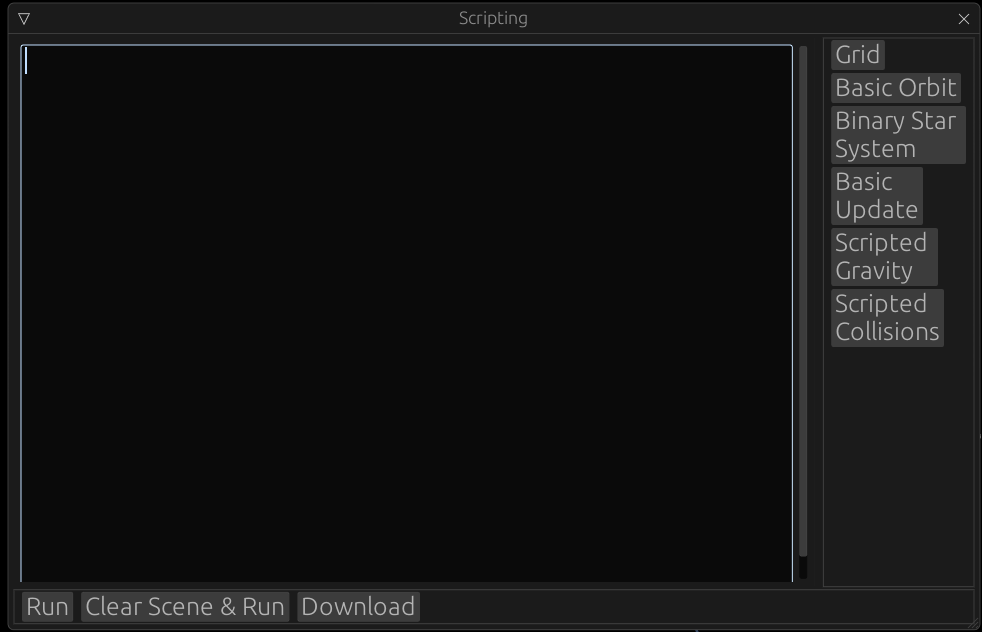
The scripting engine uses a simple scripting language called Rhai.
Types
There are a few important types we'll use:
-
integers (e.g.
1, 2, -3) -
floats (e.g.
1.5, 3.4, -999.999) -
booleans (
true, false) -
vectors (e.g.
vec(3, 4), vec(-3.2, 3.4))
Using these, we can print the value of some basic expressions with the following code:
print(5 + 10 * 15); // 155
print(2.0 + 3 * 4.5); // 15.5
print(true && (false || true)); // true
print(vec(3, 4) + vec(-3.5, 4.5)); // [-0.5, 8.5]
Bodies
The other important aspect of the scripting system is interacting with physics bodies.
Bodies can be created with the add_body() function. This function takes a dictionary
with many fields. Any of these can be omitted in favor of one of the the default values below:
let body_id = add_body(#{
    pos: vec(0.0, 0.0),
    vel: vec(0.0, 0.0),
    accel: vec(0.0, 0.0),
    force: vec(0.0, 0.0),
    mass: 10.0,
    radius: 10.0,
});
Then, using the returned id, you can use get_pos, set_pos, get_vel, set_vel, etc. to
access and update the body.
Try writing a script to make a basic two-body orbit. You'll only have to specify position, velocity and mass:
// sun
add_body(#{
    mass: ???,
    radius: 300.0,
});

// planet
add_body(#{
    pos: ???,
    vel: ???,
    mass: ???,
    radius: 50.0,
});
Hint: Place the planet far to the right of the star, and set its velocity to be straight up or down. Keep adjusting the velocity's y-component until it falls around the star.
To get the ID of an existing body, you can inspect it by left clicking. Then, click on the ID label
to copy its ID. Finally, you can convert it to an engine ID type with the id function.
For example:
let body = id(4294967297); // find the number by inspecting a body
body.add_force(vec(30.0, 20.0));
Update
The final important component of the scripting system is the update function. It accepts
a list of body ids and a list of bodies, and is run once a frame.
Try the following script:
let frame = 0;
let update = |ids, bodies| {
    frame = frame + 1;
    print(frame);
};
Your output should fill with increasing numbers, letting you know how many frames since it started.
There will be more examples of the update function in action in the scripting documentation.